The look of a production is a key element of the same that is usually taken for granted. This is however a good sign, as this means that it has been seamlessly integrated with the tone of the story. But to achieve the perfect look for a production, there is a piece of gear that might seem menial but that is actually very important.
What are filters?
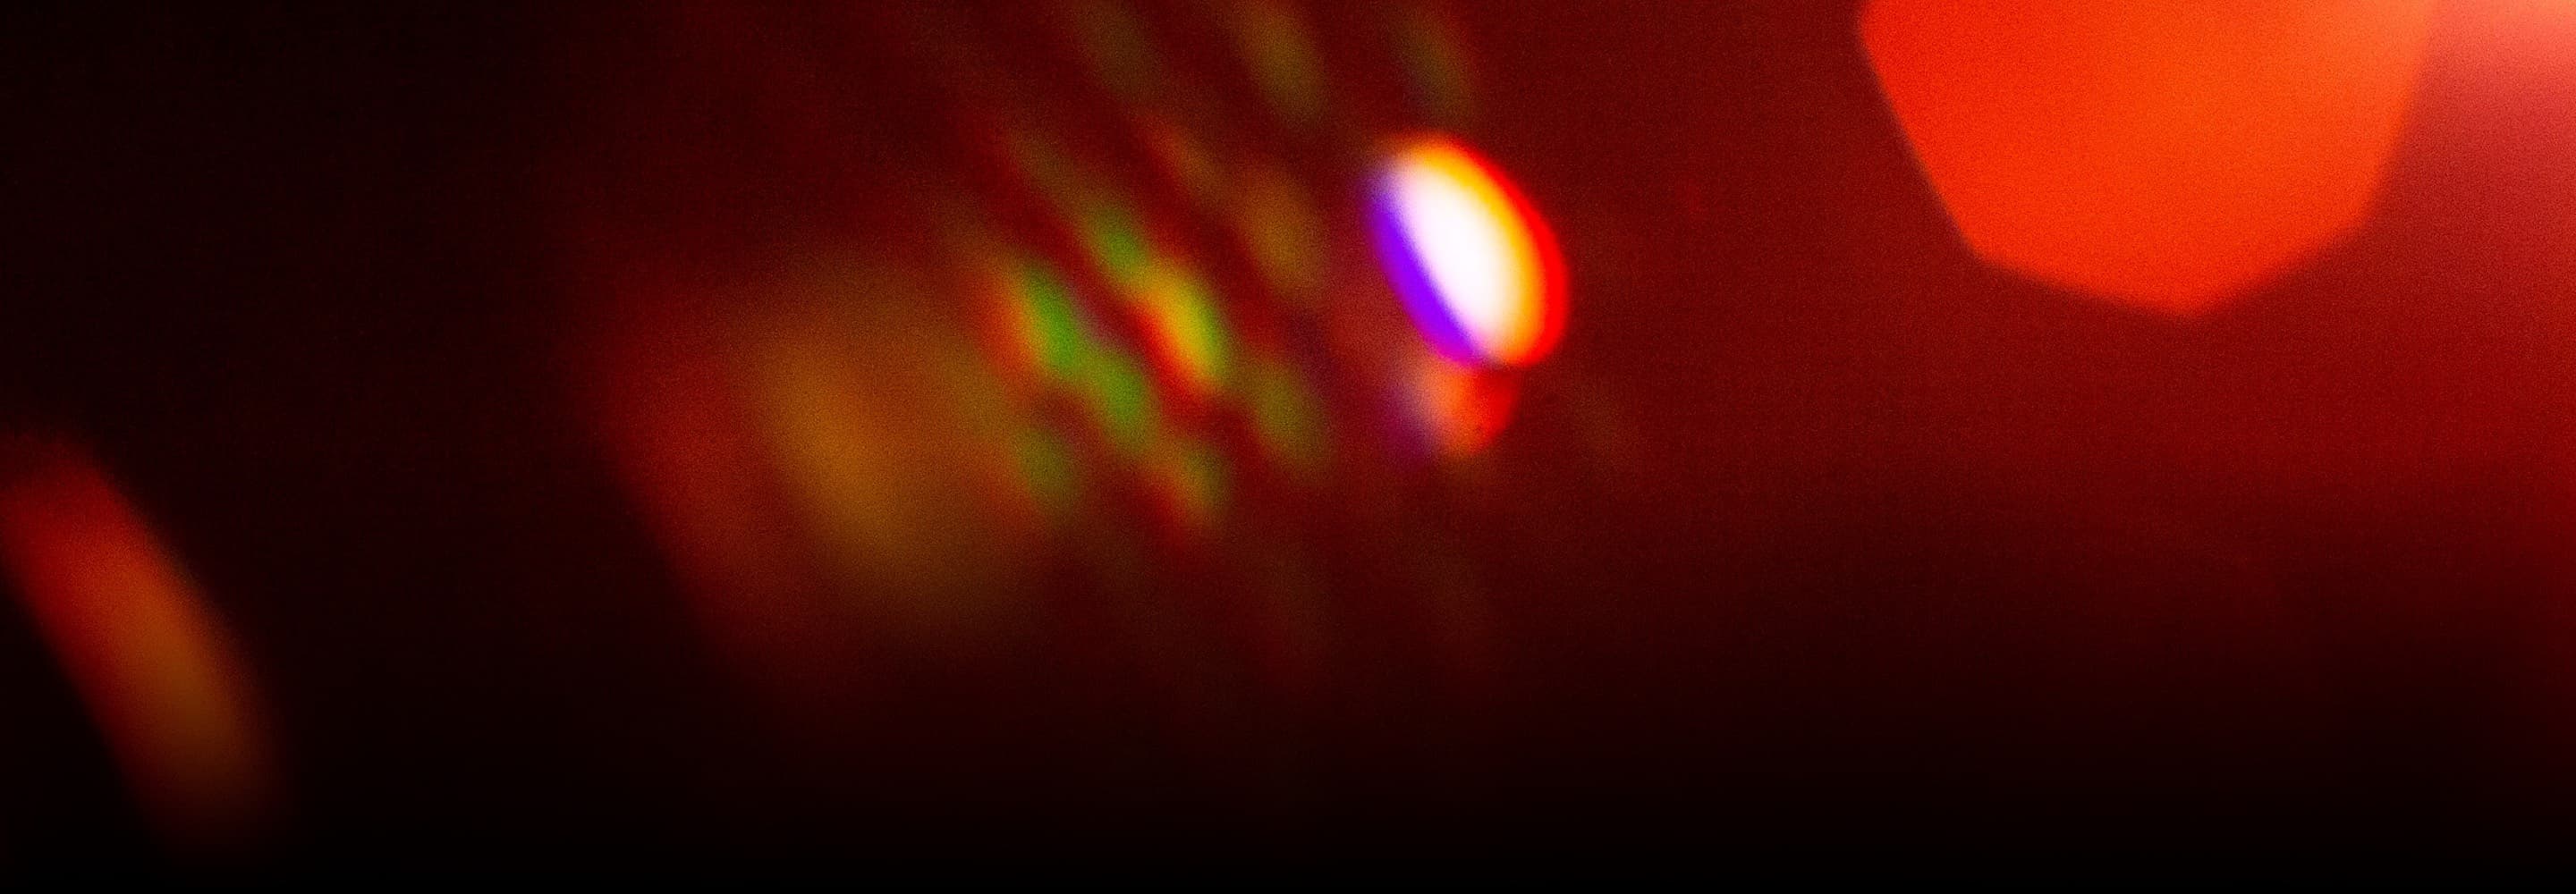
Filters are rectangular or circular pieces made of glass that allow for manipulation of the light coming through the lens. Some are also made of optical coatings placed inside said glass. This light manipulation capability helps dealing with unwanted lighting conditions and allows for adding creative effects, modifying colour, depth of field and in general, adjusting the image. Filters are usually placed in front of the lens, but can also be placed after the lens and sometimes inside the lens – certain cameras include built-in filters as well. The most popular brands are Tiffen and Schneider, companies with a proven record of know-how, experience and presence in the industry.
How to use them
In order to place a filter before the lens, the most common practice, a matte box is required. Matte boxes come with filter trays designed to hold these in place right before the lens. Except for screw-on filters, which are naturally circular ones like polarisers that screw onto the front element of the lens, filters are placed in the matte boxes’ filter trays, and should cover the diameter of the lenses’ front element.
This is the reason why they normally come in two sizes: 4”x5.65” (also known as PV or Panavision size), which are rectangular filters that cover the diameter of most prime and zoom lenses, and 6.6”x6.6”, which are square filters normally required when working with big zoom lenses such as the heavyweight Angenieux Optimos or when working with full frame. There are also filters in 4”x4” but this size is not so much in use anymore.
Filter trays are normally horizontally oriented, however there are also vertical trays for portrait settings and rotatable trays, which are most commonly used with graduated filters and polarisers. The former is a type of filter that gets gradually darker from one edge to the other, thus the angle in which it is positioned makes one side darker – this can be used for example, to make the sky look darker.
The latter refract the light evenly in different directions depending on the angle, getting rid of glares and reflections. Rotatable trays make it easier to position the filter in the best way to achieve the desired effect.
Types of filters
Filters can be classified in these main categories:
- Protection: such as the Optical Flat, a filter with no modifications – just a piece of glass for protecting the lens
- Polarisers: as described above, these refract the light evenly getting rid of glares and reflections in the sky, glass and water.
- Neutral Density (ND): these reduce the amount of light passing through the lens without modifying colour and are particularly helpful to avoid overexposure. ND Grads as mentioned above also belong in this category.
- Infra-Red Neutral Density (IRND): same as the NDs, however these help control the amount of Infra-Red filtration on blacks and dark colours.
- Diffusion: these help diffuse the light to create softer images or distribute the light across the image while controlling sharpness and can also add glow and enhancing traits to skin tones.
- Special Effects: these add special effects to the image, such as light streaks, fog or day for night.
- Colour Effects: these are tinted filters that help enhance certain colours on the image or add a tint to it.
- Diopters: these filters behave similarly to magnifying glasses and are designed for close-ups and extreme close-ups as they allow for close focusing. Split diopters are diopter filters that only have half the glass, enhancing depth of field and increasing the amount of the image that is in focus even at a very close distance from the subject on the foreground.
Even though the final look of a production is achieved during post-production, the use of filters is key to achieve certain effects or image traits that could not be created digitally. This is especially true with polarising, skin tones, flares and bokeh control, particular lighting setups and colours. For this reason, it is not uncommon for DOP’s and camera assistants to carry out filter tests during prep to see how filters behave under the conditions they are going to work during the shooting. The footage of these is then taken into the editing suite, to check how the final result would look like in post-production. At this stage, producers, executive producers and director will also have their say in the choice of filters that best represent the desired look for the production.
Filters can alter an image so much in terms of lighting, colour and skin tones that even some actors and actresses are known to regularly have taken their own filters to the set. One actress that is said to have done this was Joan Collins, who allegedly handed her own filters to the crew for them to use when shooting her scenes, so her skin tones looked to her taste.